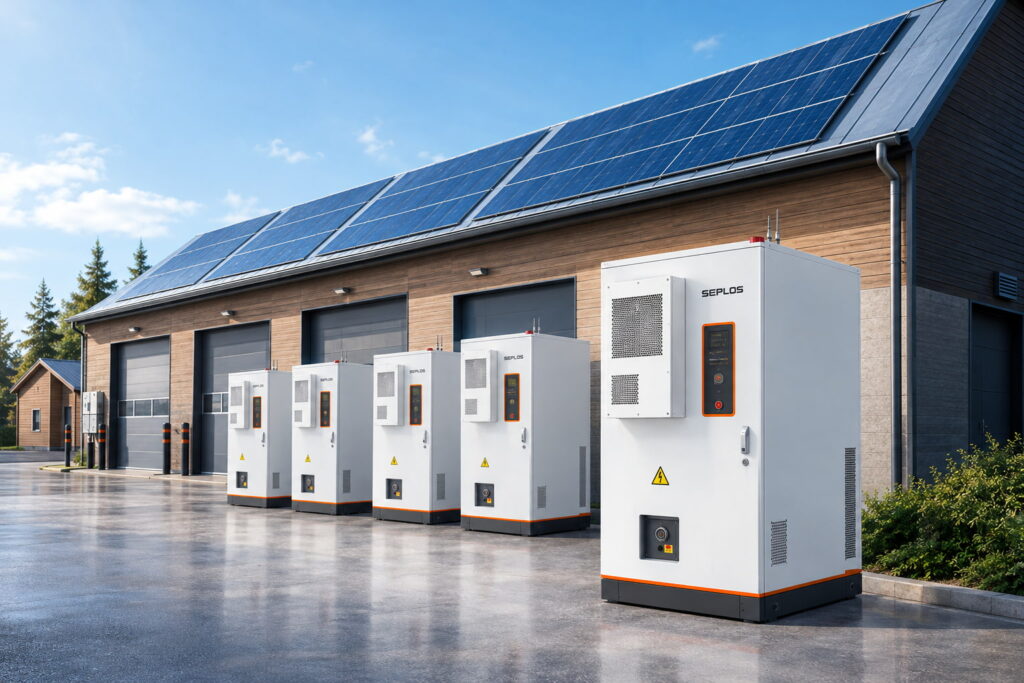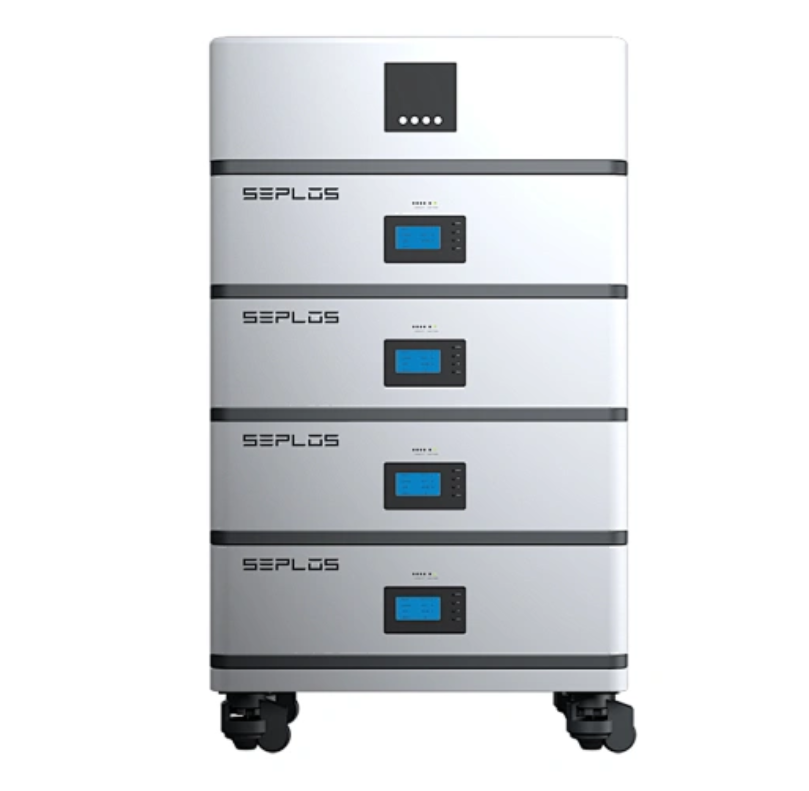
Our Seplos 104-L Wall Mounted 48V LiFePO4 Battery is engineered for both effortless installation and exceptional performance, making it an ideal choice for those looking to enhance their energy systems. This guide will provide you with a step-by-step walkthrough of the installation process, ensuring you can fully harness the capabilities of your wall-mounted lithium battery.
This battery backup installation guide covers the essential preparation, mounting, wiring, and final inspection steps needed for a safer and more reliable installation.

Preparing for Installation
Before starting the installation, it’s essential to gather the necessary tools and materials. You will need basic tools such as a drill, screws, and a level. Additionally, ensure that the installation area is clean, dry, and well-ventilated. The wall mounted battery backup should be placed in a location that allows for easy access to the battery terminals and connections. Make sure to check the specifications of the Seplos 104-L battery, including its dimensions and weight, to confirm that your chosen location can support it.
Mounting the Battery
Once the preparation is complete, it’s time to mount the wall mounted LiFePO4 battery. Begin by marking the drilling points on the wall according to the mounting bracket’s specifications. Use a level to ensure the marks are straight. Drill the holes and insert the appropriate anchors to secure the mounting bracket. After securing the bracket, carefully lift the Seplos 104-L battery and attach it to the bracket. It’s crucial to ensure that the battery is securely fastened to prevent any movement.
Connecting the Battery
With the wall mounted battery backup securely installed, the next step is to connect it to your energy system. Follow the wiring diagram provided in the user manual to connect the battery to your solar inverter or other energy sources. Ensure that all connections are tight and secure to avoid any potential issues. The Seplos 104-L battery features a smart Battery Management System (BMS), which helps monitor the battery’s performance and safety. Once connected, double-check all wiring to ensure everything is in order before powering up the system.
Conclusion
Finally, following these steps can make installing the Seplos wall-mounted battery backup simple. The Seplos 104-L wall-mounted LiFePO4 battery not only provides dependable energy storage, but it also increases energy independence. Users can have a seamless energy experience by properly preparing, mounting, and connecting the battery. At Seplos, we are dedicated to providing innovative, high-performance energy storage solutions that are both easy to install and built to last. Whether you’re looking to boost energy efficiency, prepare for outages, or achieve greater self-sufficiency, the Seplos 104-L battery is designed to meet your needs.
FAQs About Wall Mounted Battery Installation
Choose a dry, well-ventilated location with enough structural strength to support the battery. The installation area should also provide adequate clearance for wiring, inspection, maintenance, and heat dissipation.
Confirm the battery dimensions and weight, wall strength, mounting hardware, cable specifications, inverter compatibility, ventilation, and required installation clearances before beginning the installation.
Follow the wiring diagram and communication instructions provided for the battery and inverter. Power cables, communication cables, polarity, terminal torque, and BMS communication settings should all be checked before the system is powered on.
BMS communication allows the battery and inverter to exchange information such as state of charge, voltage, current, temperature, and protection status. Correct communication helps the system charge and discharge safely and efficiently.
Verify that the battery is securely mounted, all cables are correctly connected, polarity is correct, terminals are tightened, communication wiring is installed properly, and no cables or connectors show visible damage.